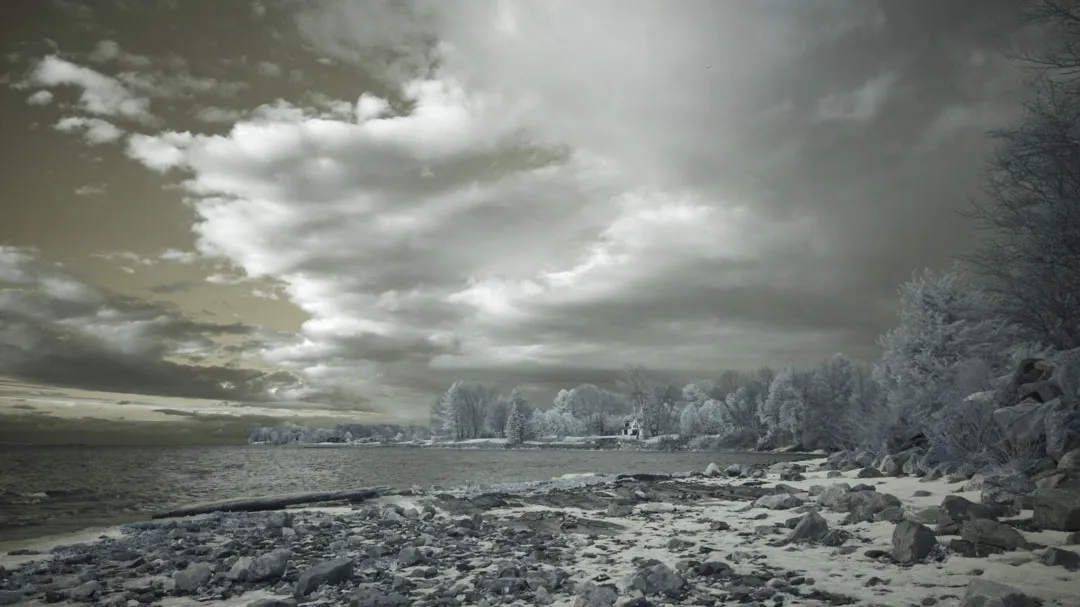
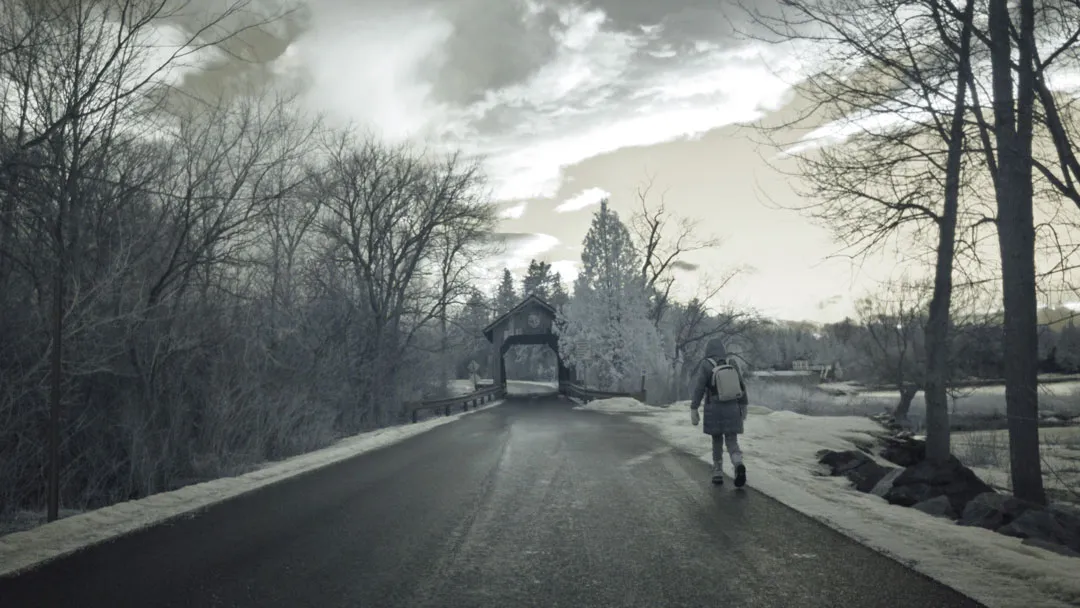
I’ve been working on building an infrared camera with a Raspberry Pi. I took it to the beach to take some test shots. A partially cloudy evening was not an ideal time, and the photos are still unedited DNGs, but I can see the potential. By spring, I will have all the kinks worked out in time for actual foliage and sunny days.
There are some issues. Focus is unpredictable; the capture script requires adjustment. The biggest issue is guessing what the composition is, so I need to add some sort of viewfinder. Unpredictability is fun and all, but….
Eventually, when I get a good working prototype, I’ll house it in a wooden box to make it aesthetically pleasing and user-friendly. I’m imagining a wood box like early cameras.
I got the idea from this post where someone converted a camera into an infrared camera using a Raspberry Pi. I really liked the photos with vegetation. Looking at the parts and code, it seemed pretty straightforward to me. I used what they did as a starting point.
Sure, I could convert an old DSLR to infrared, and I probably will someday, but I like building things and doing things the hard way.
The parts
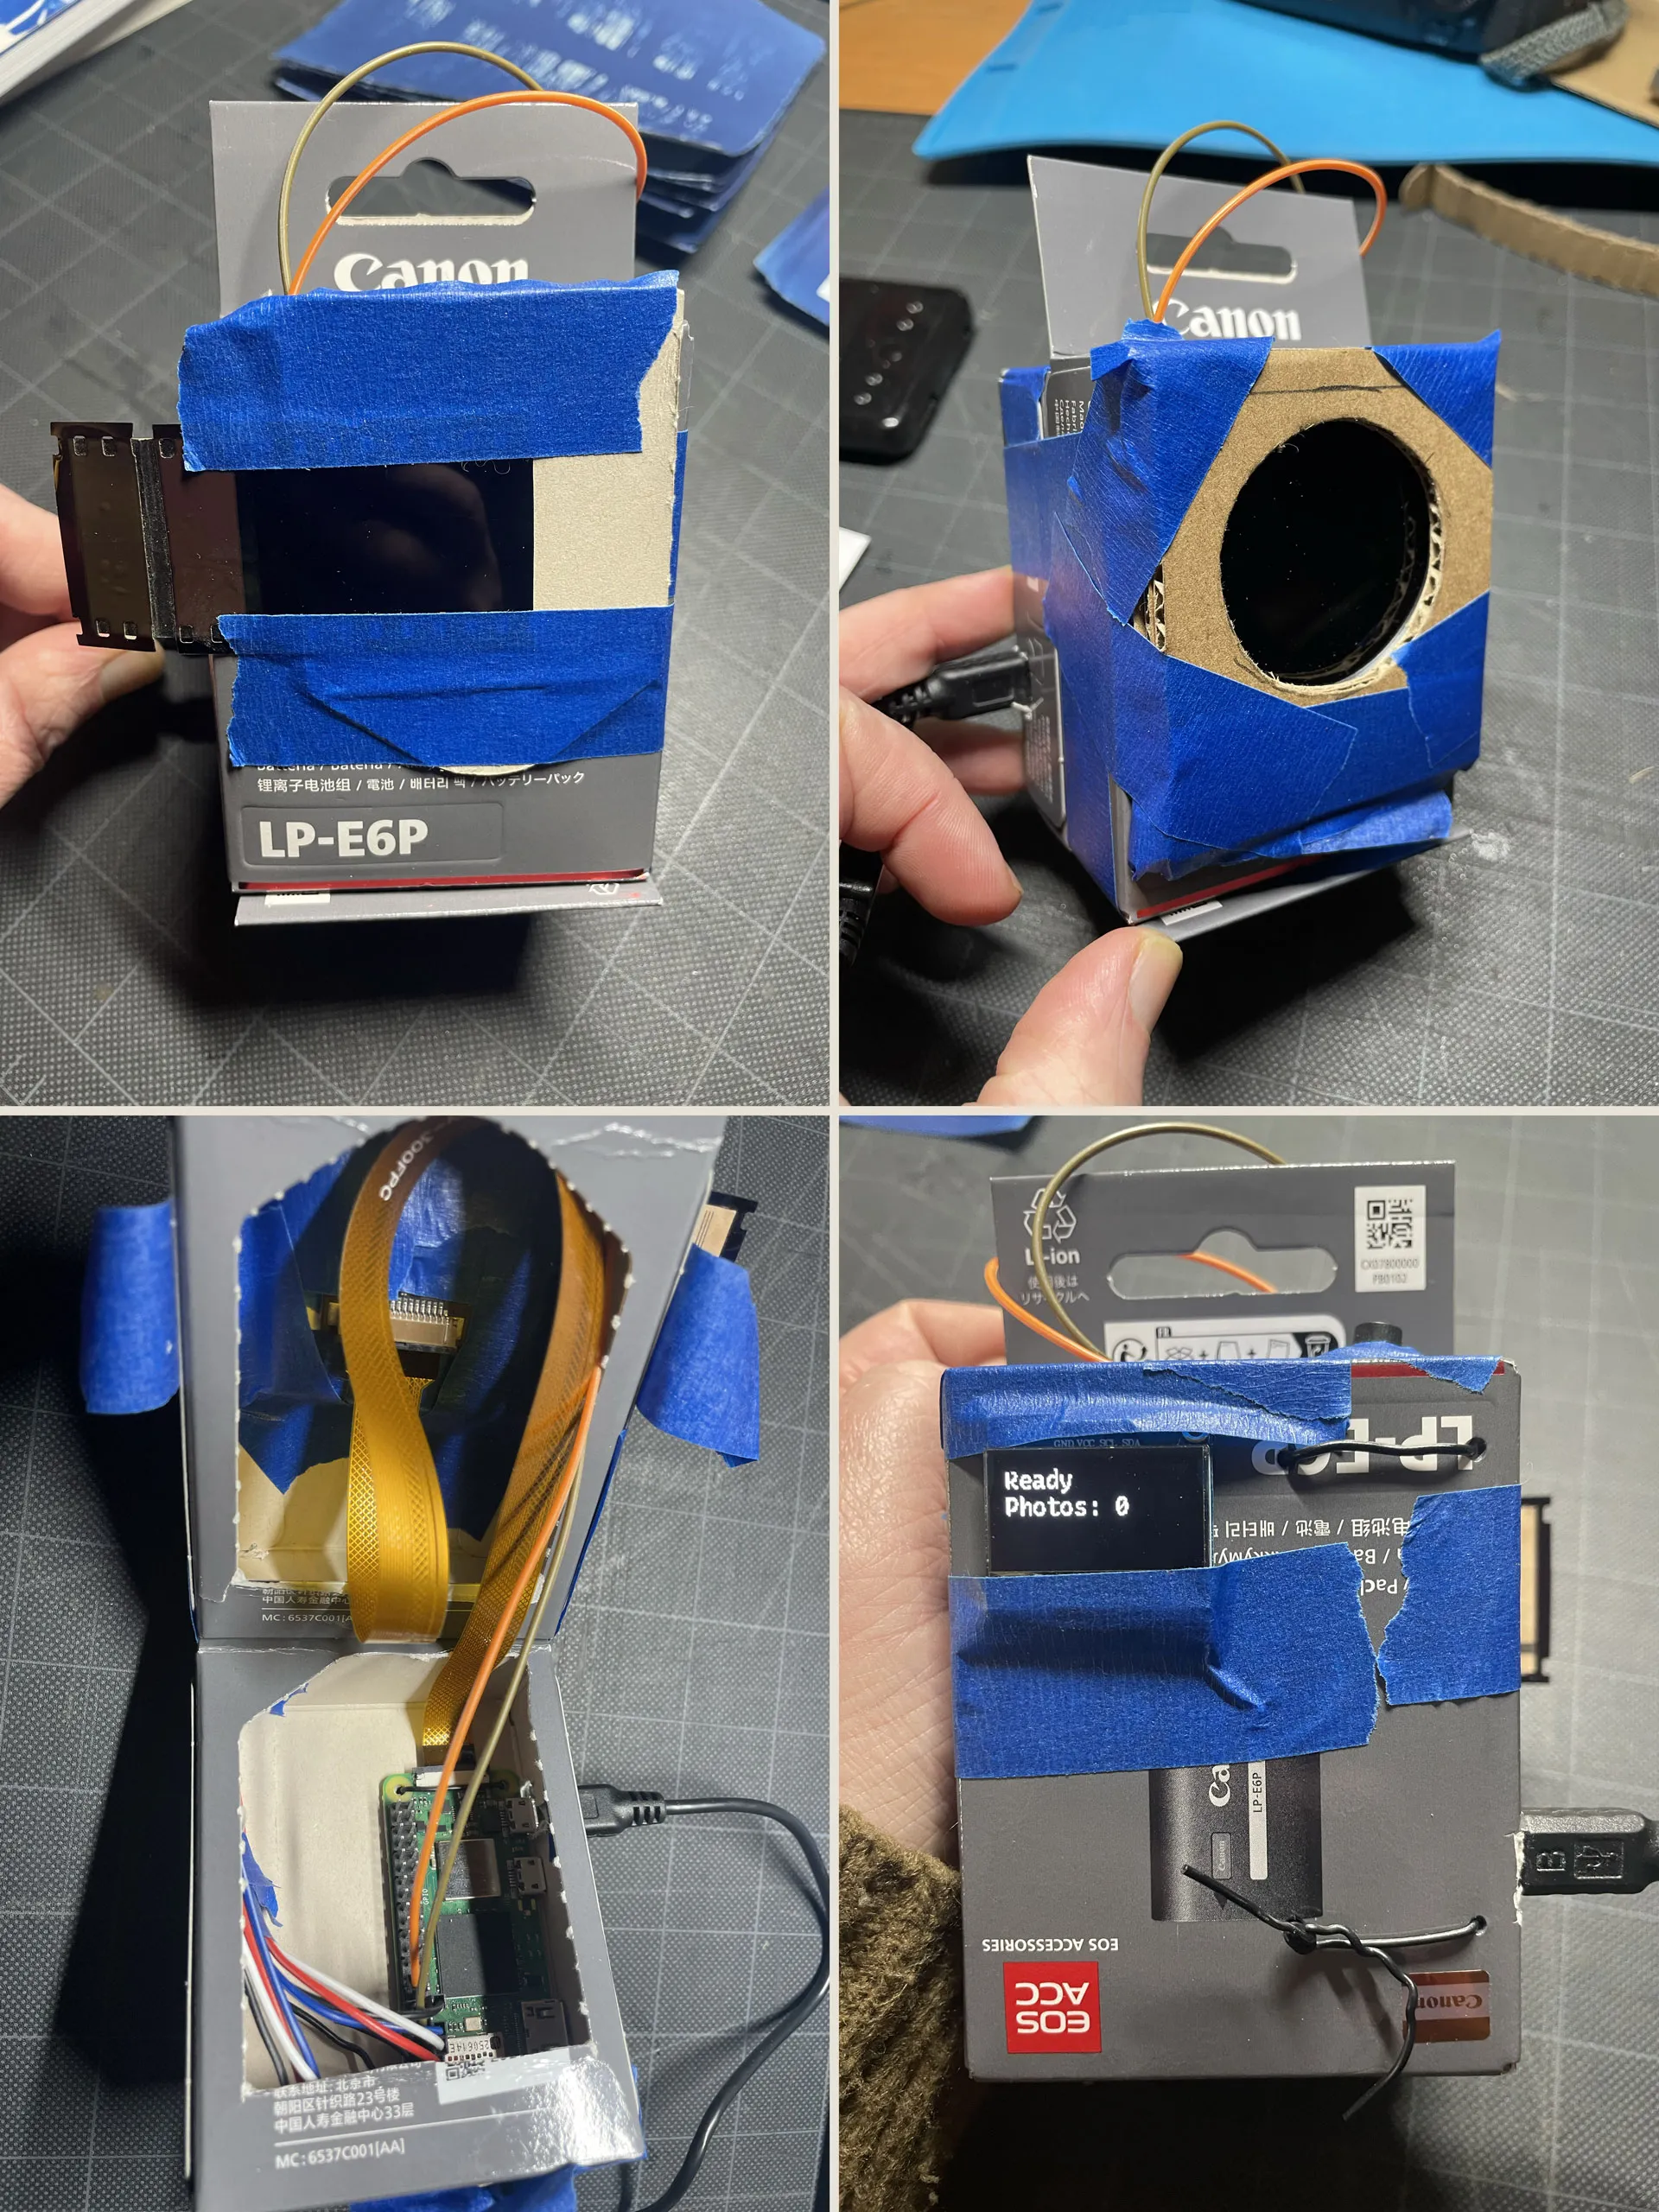
- Raspberry Pi Zero 2W
- Raspberry Pi Camera v3 NoIR
- OLED display
- Momentary on switch
- USB battery pack. I’m looking for a better solution.
- Cardboard boxes
- 720nm infrared filter. It replaced the DIY filter: unexposed, developed film.
Notes of note
- The script is written in Python.
- Photos are saved as DNGs.
- The sensor is 12 MP. The quality is better than I expected.
- Total cost so far is about $75. The IR filter was a third of the cost!
Roadmap
- Add a viewfinder.
- An enclosure that is not a janky cardboard box.
- Write files to an external SD card. Currently, I have to remotely connect to the camera over SSH in the command line to download the photos.
- Battery that’s in the housing and not stuffed up my sleeve.
- Manual control. It’s currently all automatic.
- Add an intervalometer. I’d build that separately so I could use it on other cameras. That’s another rabbit hole.